
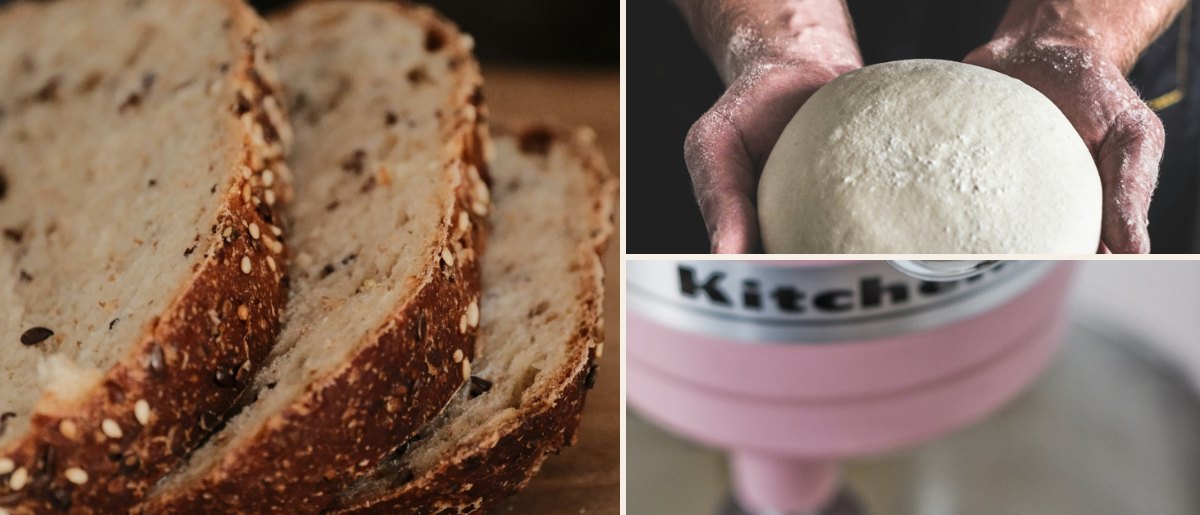
A bread machine is one of the easiest ways to start baking bread at home. You add the ingredients, press a button and come back to a finished loaf. But “easy” doesn’t mean foolproof. Small details, like how you measure flour or where you put the yeast, make the difference between a tall, soft loaf and a short, heavy one.
Whether you’ve just unboxed your first machine or you’re still choosing one, these bread machine tips for beginners will help your first loaves come out right. If you’re still shopping, start with our guide to the best bread machines under $100.
Before Your First Loaf
1. Read the Manual (Really)
Every machine has its own ingredient order, cycle names and loaf sizes. The manual’s recipes are written and tested for your specific machine, so they’re the best place to start.
2. Start With a Simple White Loaf
Before you try whole wheat, sourdough or cinnamon raisin, bake a basic white loaf from the manual or our bread machine white bread recipe. It teaches you how your machine behaves, and it’s the easiest loaf to get right.
3. Do a Test Run
Some new machines give off a slight smell the first time they heat up. Check your manual. Many suggest running a bake cycle empty, or wiping the pan and baking a first loaf you don’t mind if it smells a little.
Ingredients and Measuring
4. Weigh Your Flour
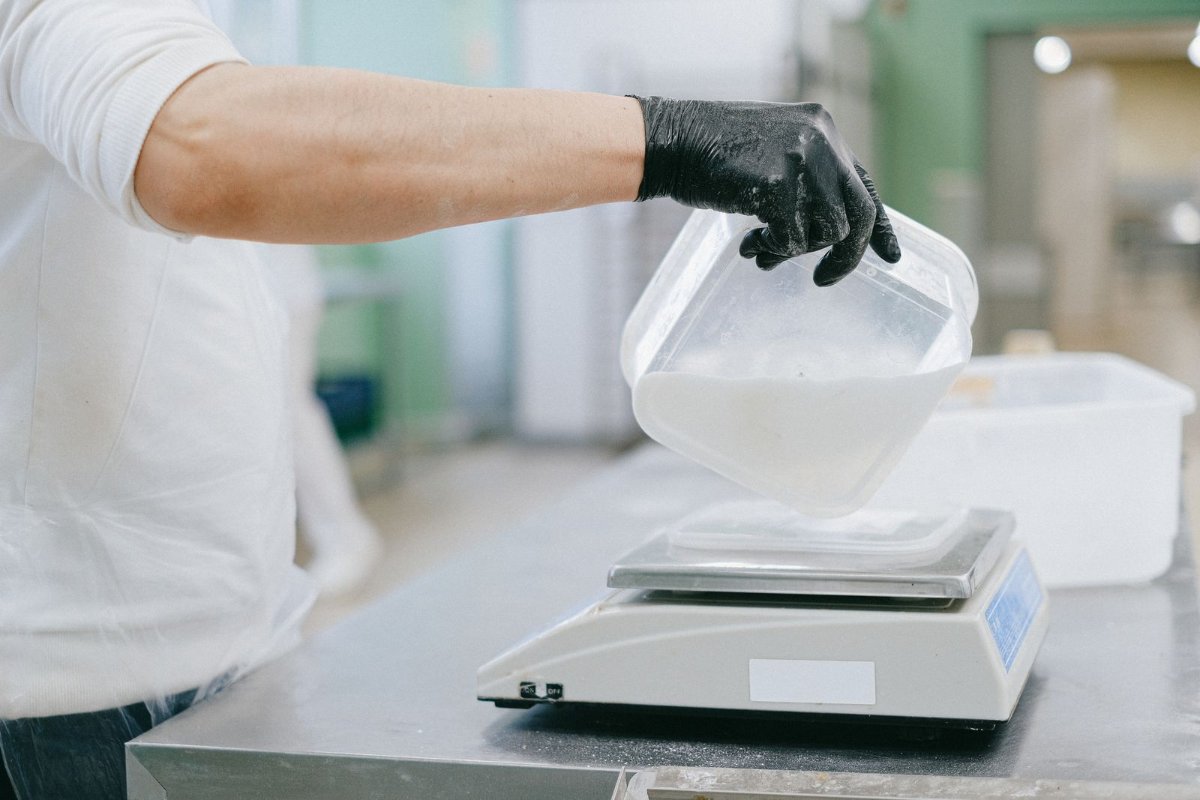
This is the single most useful tip. Scooping flour from the bag can pack in much more flour than the recipe expects, making dense, dry bread. A cheap digital kitchen scale fixes it. If you don’t have one, spoon flour into the cup and level it off with a knife.
5. Use the Right Flour
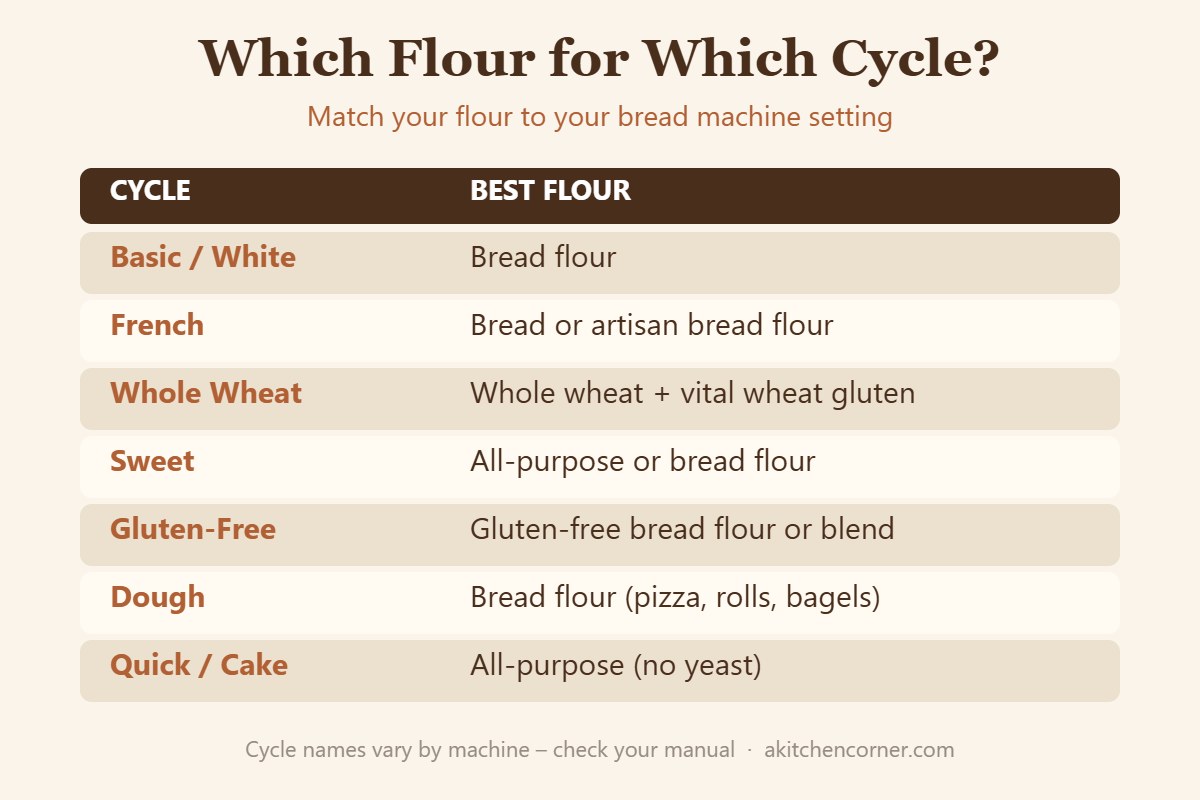
Bread flour has more protein than all-purpose flour, so it builds stronger gluten and makes taller loaves. All-purpose works, but expect a slightly shorter loaf. Our guide to the best flour for bread machine bread compares the options.
6. Use the Right Yeast
Use instant or bread machine yeast unless the recipe says otherwise. They work faster and more reliably in bread machines than active dry yeast. Keep opened yeast in an airtight container in the fridge or freezer.
7. Add Ingredients in the Right Order
Most machines want:
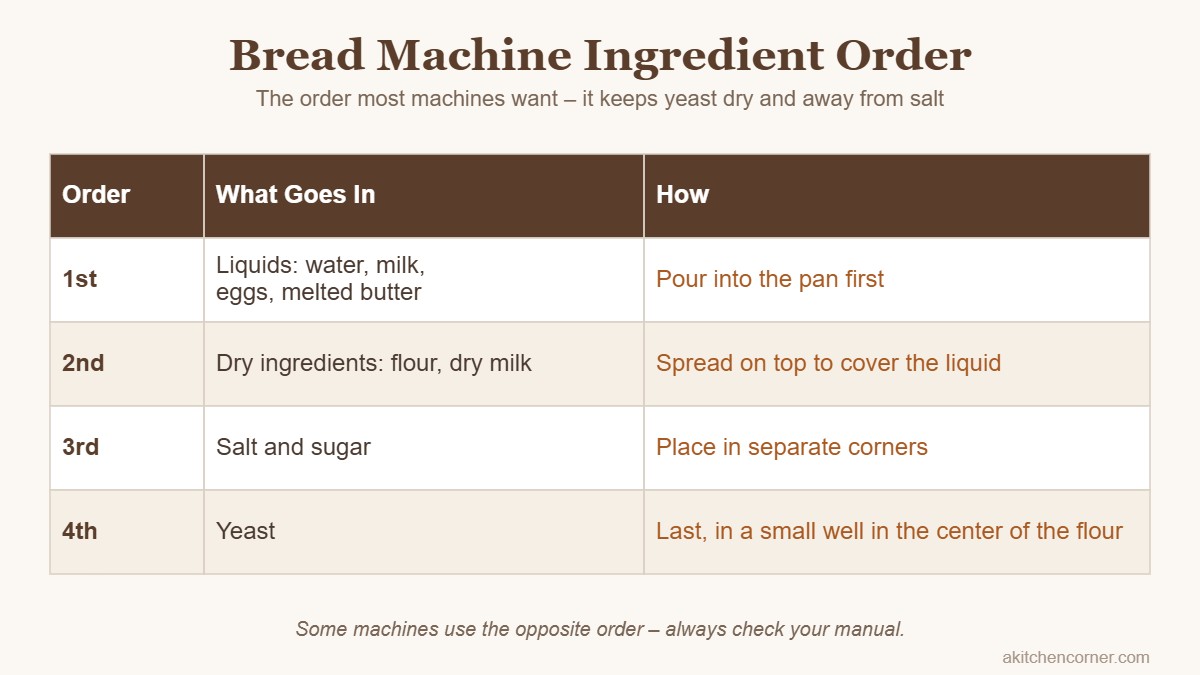
- Liquids first (water, milk, eggs, melted butter)
- Dry ingredients on top (flour, dry milk)
- Salt and sugar in separate corners
- Yeast last, in a small well in the center of the flour
This keeps the yeast dry and away from salt until kneading starts. Some machines use the opposite order, so check your manual.
8. Use Room-Temperature Ingredients
Cold milk, eggs and butter slow the yeast down. Take them out of the fridge 30 minutes before baking, and use water around 75–80°F (24–27°C).
During the Cycle
9. Check the Dough Ball
About 5 minutes into the first knead, open the lid and look:
- Just right: a smooth, round ball that’s slightly tacky and cleans the sides of the pan
- Too wet: sticky, sloppy, sticking to the sides. Add flour 1 tablespoon at a time.
- Too dry: lumpy, stiff, or the machine is struggling. Add water 1 teaspoon to 1 tablespoon at a time.
This one check fixes most problems before they happen. After the kneading phase, keep the lid closed.
10. Don’t Open the Lid During Rising or Baking
Opening the lid lets heat out and can make the loaf collapse. Use the window to check progress instead.
11. Choose the Right Cycle and Loaf Size
Match the loaf size (1 lb, 1.5 lb, 2 lb) to your recipe, and use the cycle it was written for. Basic or white cycles give the best texture. Rapid cycles save time but usually make denser bread.
12. Use the Add-In Beep
Most machines beep when it’s time to add nuts, raisins, seeds or chocolate. Adding them at the start can crush them or tear the gluten. If your machine has an automatic dispenser, use it.
After Baking
13. Remove the Loaf Right Away
Take the loaf out of the pan as soon as the cycle ends. Leaving it in the machine traps steam and makes the crust soft and damp. If the paddle stays stuck in the bottom of the loaf, wait until it cools, then pull it out with a wooden spoon handle or the hook that came with the machine.
14. Let It Cool Before Slicing
Bread keeps cooking as it cools. Slice it hot and the middle can seem gummy. Wait at least 1 hour on a wire rack. Then store it properly, or freeze it. See our guide on how to freeze homemade bread.
15. Clean the Pan Gently
Most bread pans have a non-stick coating. Never use metal utensils or abrasive scrubbers. Soak the pan in warm water to loosen stuck dough, and check your manual before putting it in the dishwasher.
Delay Timer Safety
The delay timer is great for waking up to fresh bread, but:
- Keep yeast dry and away from liquid until the cycle starts
- Don’t use perishable ingredients like milk, eggs, butter or cheese with a long delay. Use water and dry milk powder instead.
- Avoid very long delays in a hot kitchen
Keep a Baking Notebook
Write down the recipe, flour brand, cycle, room temperature and result for each loaf. When something goes wrong, you’ll know exactly what to change. And when you get a perfect loaf, you’ll be able to repeat it.
If your bread does go wrong, our troubleshooting guides can help: why bread machine bread collapses and why bread machine bread is dense.
Frequently Asked Questions
What order do you put ingredients in a bread machine?
Most machines want liquids first, then flour and other dry ingredients, with salt and sugar in separate corners and the yeast in a small well on top. Some machines use the reverse order, so check your manual.
Do I need special flour for a bread machine?
No, but bread flour gives the tallest, lightest loaves because of its higher protein content. All-purpose flour works with slightly shorter results.
What kind of yeast is best for a bread machine?
Instant or bread machine yeast is the most reliable. Active dry yeast also works, but some recipes need a little more of it.
Can I open the lid of my bread machine?
Yes, during the first knead, to check the dough. Avoid opening it during rising and baking, because heat loss can make the loaf collapse.
How long should bread cool before slicing?
At least one hour on a wire rack. Slicing too soon can make the middle seem gummy.
Can I use the delay timer with milk?
It’s best not to, especially for long delays. Use water and dry milk powder instead of fresh milk, eggs or butter.
Final Thoughts
The best bread machine habits are simple: weigh your flour, load ingredients in the right order, check the dough ball, and let the loaf cool before slicing. Start with a basic white loaf, take notes, and you’ll be baking confidently within a few weeks.
Leave a Reply